Saturday, June 11, 2016

My Picmonkey "Adventures"


 Picmonkey is pretty fun to play around on... so, I decided to do a 
post on different picture edits and things I made on there. :) Fun stuff...

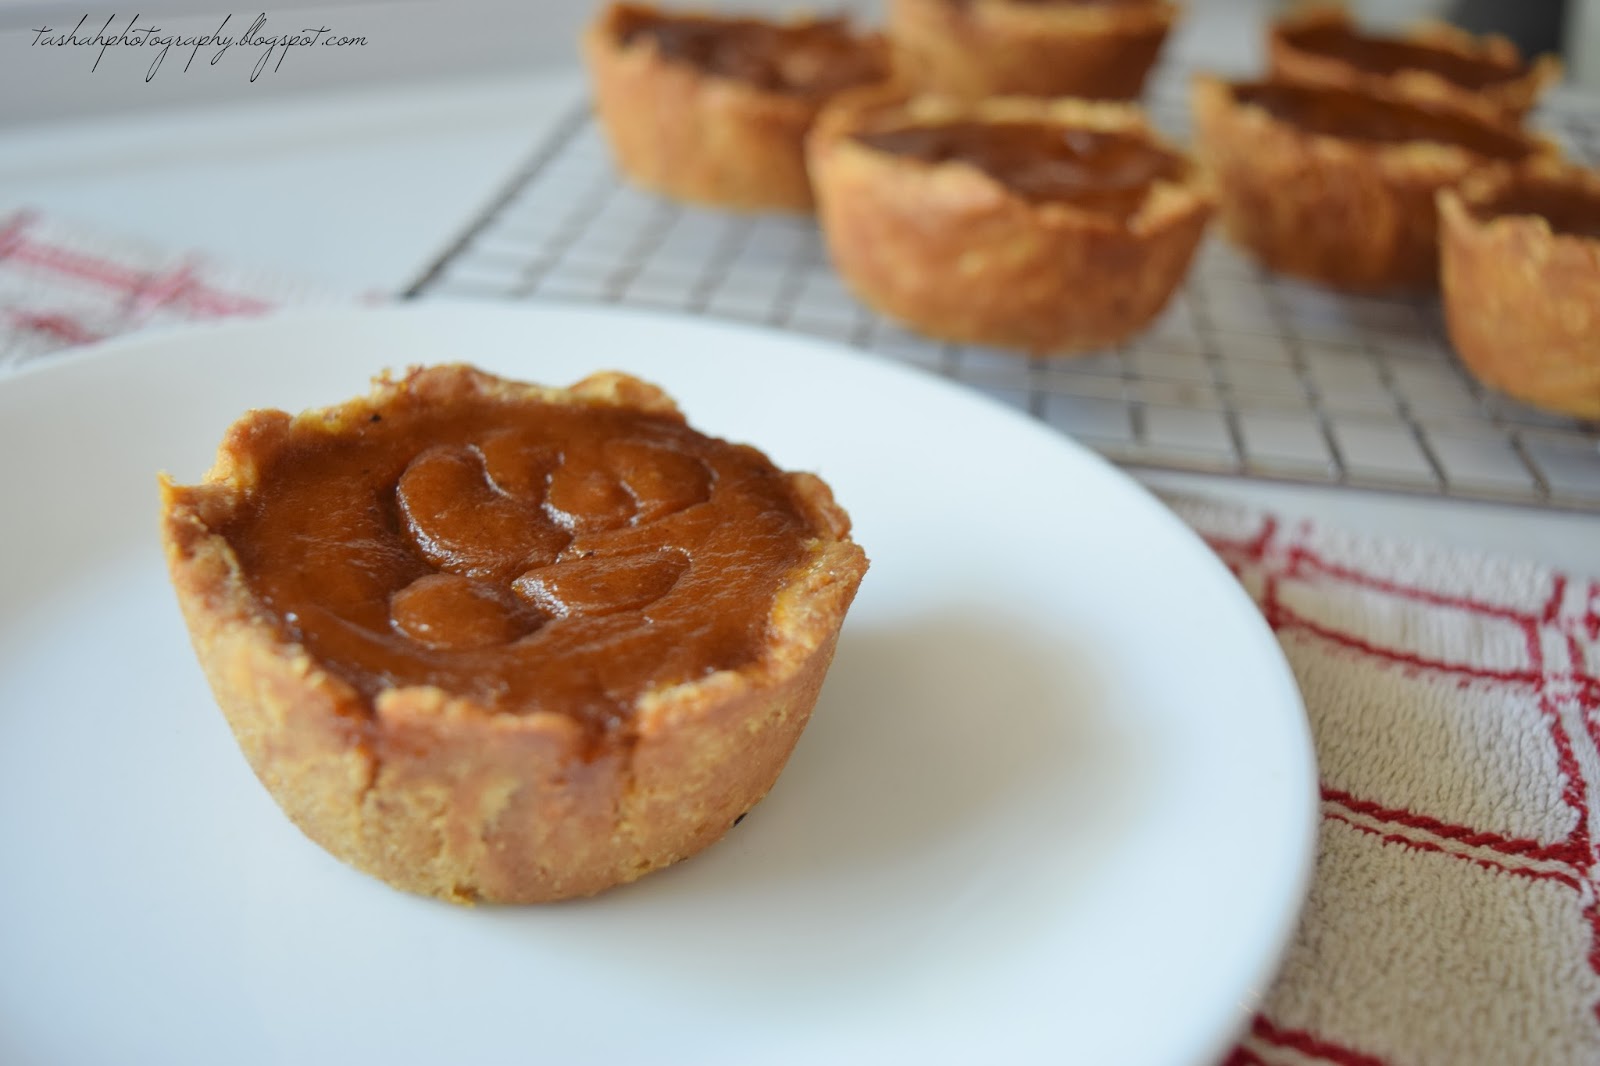
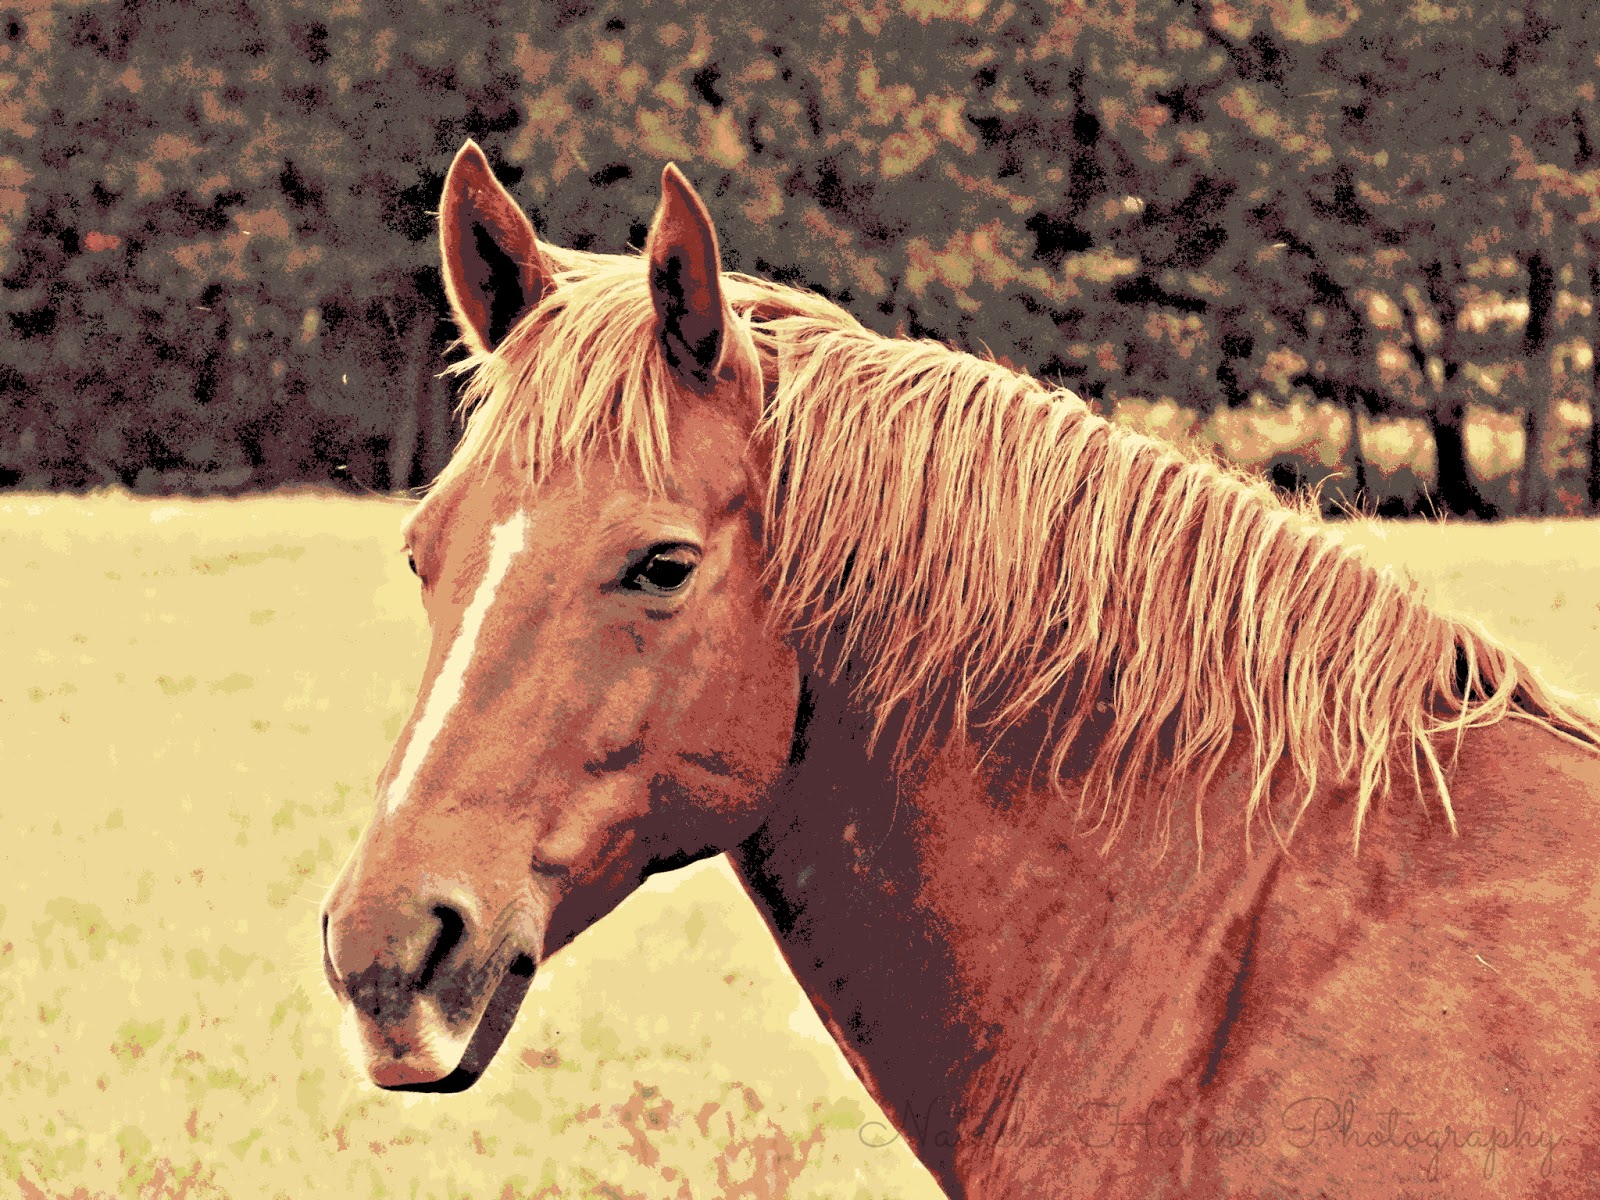
 So first we have some edited pictures.

Now, the "after" pictures aren't always better than the before 
pictures. Some of them are just showing you interesting things you 
can do on picmonkey. :)

 OK, here are quite a few some before and afters. ;)


BEFORE:

                                       
AFTER:


BEFORE:


                                                                    AFTER:


BEFORE:


AFTER:


BEFORE:


                                                                     AFTER:


BEFORE:


AFTER:


BEFORE:


AFTER:


BEFORE:


AFTER:


BEFORE:


AFTER:


BEFORE:


AFTER:


And now for the fake card sort of things I made...

(All fake names, by the way. :D)


  Not exactly sure what that one above would be... maybe a birthday card or something, if people do that kind of thing. :P


 And this is a fake graduation card. (I'm sure you can't tell! :P) It was just fun! :D


 And yea... speaks for itself. :)

 With all the little things you can insert (like the little snail), making pretend cards is pretty fun. :)


Well, I hope that was enjoyable! :) I had better go to bed and try to avoid the disgusting cockroaches that have invaded our house. Really. But I still have a ton to be thankful for, despite the hateful creatures. :P 


SO HAVE YOU EVER MADE A PRETEND CARD OR ANYTHING? HAVE ANY CREATURES INVADED YOUR HOUSE?

Monday, June 6, 2016

Photo Gallery: Little Vintage Boy


 Hey all! Summer's about here! :D It's been nice... :)

 I took some pictures I took of this cutie today. They sort of have an old fashioned feel, so I put that in my title. ;) 


  Isn't he soo adorable with his hair spiked up like that? :D


Goofball! <3


Hugging his bear... aww! <3


 I'm helping in vacation Bible school all week until Friday. I'm the leader of four kids... I've never been a leader, so this is a new experience. :P I'm not the greatest at it, since I'm not very good at talking, even to kids. But it went fine today. :)

 Well, I hope you enjoyed the photo gallery! <3


Saturday, June 4, 2016

Mini Pumpkin Pies


  I had this idea to make mini pumpkin pies a while ago. My mom had the brilliant suggestion to make them in muffin tins, so I did! :D 


  Yea... a pumpkin pie recipe in spring\summer? Haha. Who really cares though? Eat pumpkin pie in autumn, winter, spring and summer! :D


  But yes, they turned out perfect! AND they have no cane sugar. They are dairy free too, besides the butter... but you could probably substitute that for more lard, or perhaps coconut oil. Ooh, and another healthy trait- this recipe is made with wheat flour, and it tastes perfectly good still. :) 


   If you like pumpkin pie, I highly recommend trying this. :)


MINI PUMPKIN PIES

 FOR THE CRUST:

 1 3\4 cup wheat flour

 2 tsps coconut sugar

 3\4 tsp salt

 6 tbsp butter

 1\4 cup lard

 7-8 tbsp ice water *

 Mix together dry ingredients, then cut in butter and lard. Add ice water just until the dough all holds together. Don't overwork it. 

Grease muffin tins. (You'll need one 12 muffin tin) Break off small portions of the dough and roll it out with a rolling pin. Fit each rolled out piece into a muffin tin. Set in the refrigerator until the filling is ready.

 FOR THE FILLING:

 one 15 oz can of pumpkin

 3\4 cup coconut sugar

 1 tsp cinnamon

 1\2 tsp allspice

 1\2 tsp salt

 1\2 tsp nutmeg

 2 eggs

 1 1\2 cups of canned coconut milk**

Mix all ingredients together. Pour into unbaked crusts. (Use my pictures above to see how far to fill them.) There was extra filling when I made this, so I poured it into a bread pan for a crustless "pumpkin pie". :)

Bake at 425 degrees F for 8 minutes, then turn down the heat to 350 degrees F for 55 minutes. Let cool for a bit before removing from muffin tins with a fork and cooling completely on a wire rack. 

Enjoy as is, or with a dollop of whipped cream! :)

* Probably any crust for a 9" pan would work

** I used the recipe printed on a can of pumpkin for this, and made some changes. ;) I had to kind of guess on the coconut milk, but I probably did less than the recipe said. That makes it more firm.The second time I made this I did 1 1\2 cups of it. The picture below is from the second time. Just add more milk if you like your pie less firm. :)


 I just love food photography! At least when the pictures look really nice. I even pulled off the picture of pouring the filling. :) Seriously awesome, food photography is. :)

Well, if you happen to try this, I hope you like it! 


Wednesday, June 1, 2016

May Highlights, Summer Anticipations, and My New Photography "Logo"


    Hi people, and happy JUNE! We are on the brink of summer! YAY!! 

   This month a had a few highlights. But life was pretty quiet as usual. :) Somehow, even though I don't do much, I never seem to be searching for something to post about. I kind of post too often! :P

Anyhow, what I did IN MAY

1\ I did school (obviously) and I hope I'm about done. :P

2\ Some of my cousins came out! :) This post tells about it. 

3\ I... uh... did the usual things like photography and recipe making. 

4\ I (may have) seen a real tornado out the living room window of my house. :D See this post.


Summer anticipations? Yes, I've got those too! :)

1\ Helping out with vacation Bible school, soon this month. :) 

2\ Camping? Or maybe it's already too hot... :P

3\ A trip to the west coast for a family reunion in July!! It's going to be so fun! :D (I may have mentioned this before?)

4\ Maybe a job? I'll have to see. I don't know if I want to do anything that requires me to clean public restrooms though. Ugh! :\>

5\ Lots of swimming! 

6\ My 16th birthday in September! :D I hope I can do something "special" for it. :)

7\ Getting my permit! When I turn 16 I'll finally be able to do that! 

8\ Being school free! ;)


So my summer has some exciting things in store! :) What about you?


Now for the new photography logo part. 

Typing your whole name and everything up onto every picture you want to post takes time, wouldn't you say? That's obviously not how the professionals do it. 

So I went on the internet in search of how to do it, and found something that was very helpful! 

It happened to be something on picmonkey... and you can make your logo on there. Click here to see how to do it.


 So this above is my new logo. See? It's transparent. :) It's much easier to put on my pictures than typing the whole thing out. So, pretty cool. :)

Here are some of my more recent pictures with the logo on them.


  So if you take pictures and post them somewhere, you should definitely try making a logo on picmonkey! (I did the same thing with my name to "sign" the end of my posts now. )


WHAT ARE YOUR SUMMER ANTICIPATIONS?